Configure the instance
After following the steps in Stack Design, all the elements of your stack has been placed and the stack is ready to get started.
Next, we are going to use the states editor in the IDE to configure the software configuration, a.k.a instance state of your instances.
Disclamer
Please be aware that these steps are informative, given as an example, and may differ (more, or less) from the reality, due to anyone's configuration. We can't provide any warranty or support if you face issues during this phase, then be sure of what you are doing while setting up your applications. However, we would be happy to discuss with you the issues that you may face during the states configuration.
Enable/Disable VisualOps on the stack
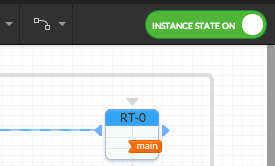
In order to configure the instance state, the stack needs to have VisualOps enabled. To enable VisualOps on a stack, ensure the switch on the top-right of the central canevas is turned on (green color).

- when VisualOps is on, you cannot edit the instance userdata, and the previous userdata will be discarded. A shell script will be automatically filled in the userdata before the instance launches, allowing us to deploy
opsagent. - when VisualOps is off, you can edit the instance userdata, but this means
opsagentwil not get installed, thus no instance state will be executed.
Use State Editor to edit instance state
IDE supports a series of shortcuts to help you improve your productivity. Please see the Shortcut section for more.
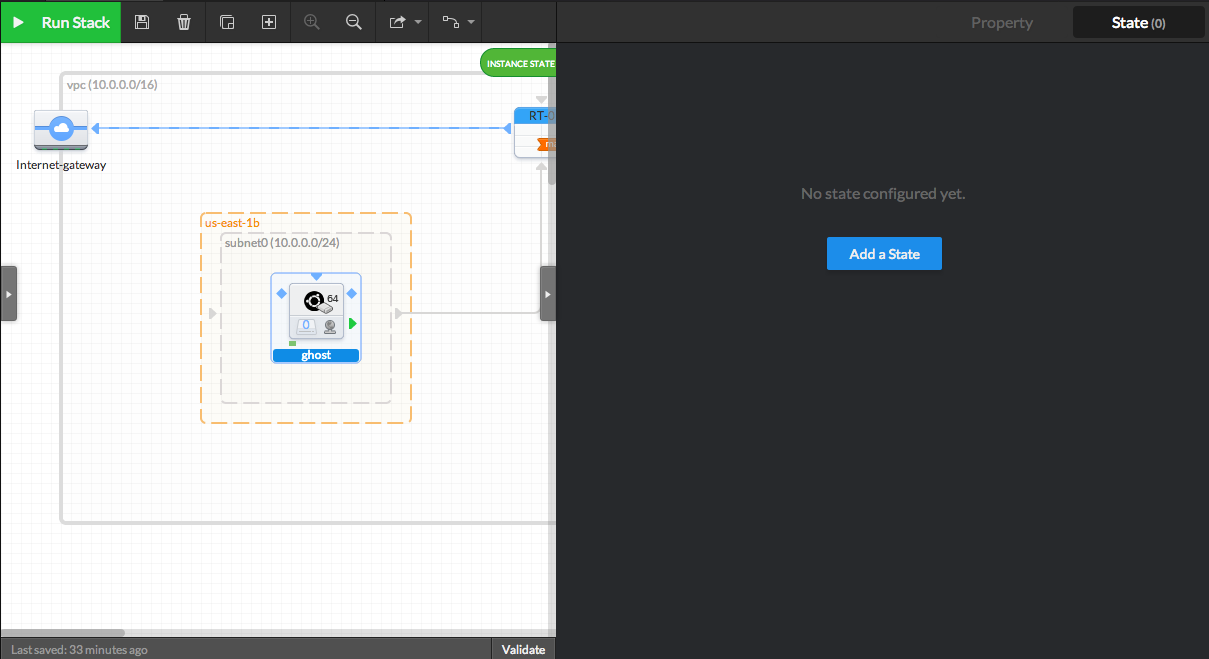
To open the state editor, click on the instance you want to edit the states, then select the "State" tab on the right panel.

Click on "Add a State" to add your first state.
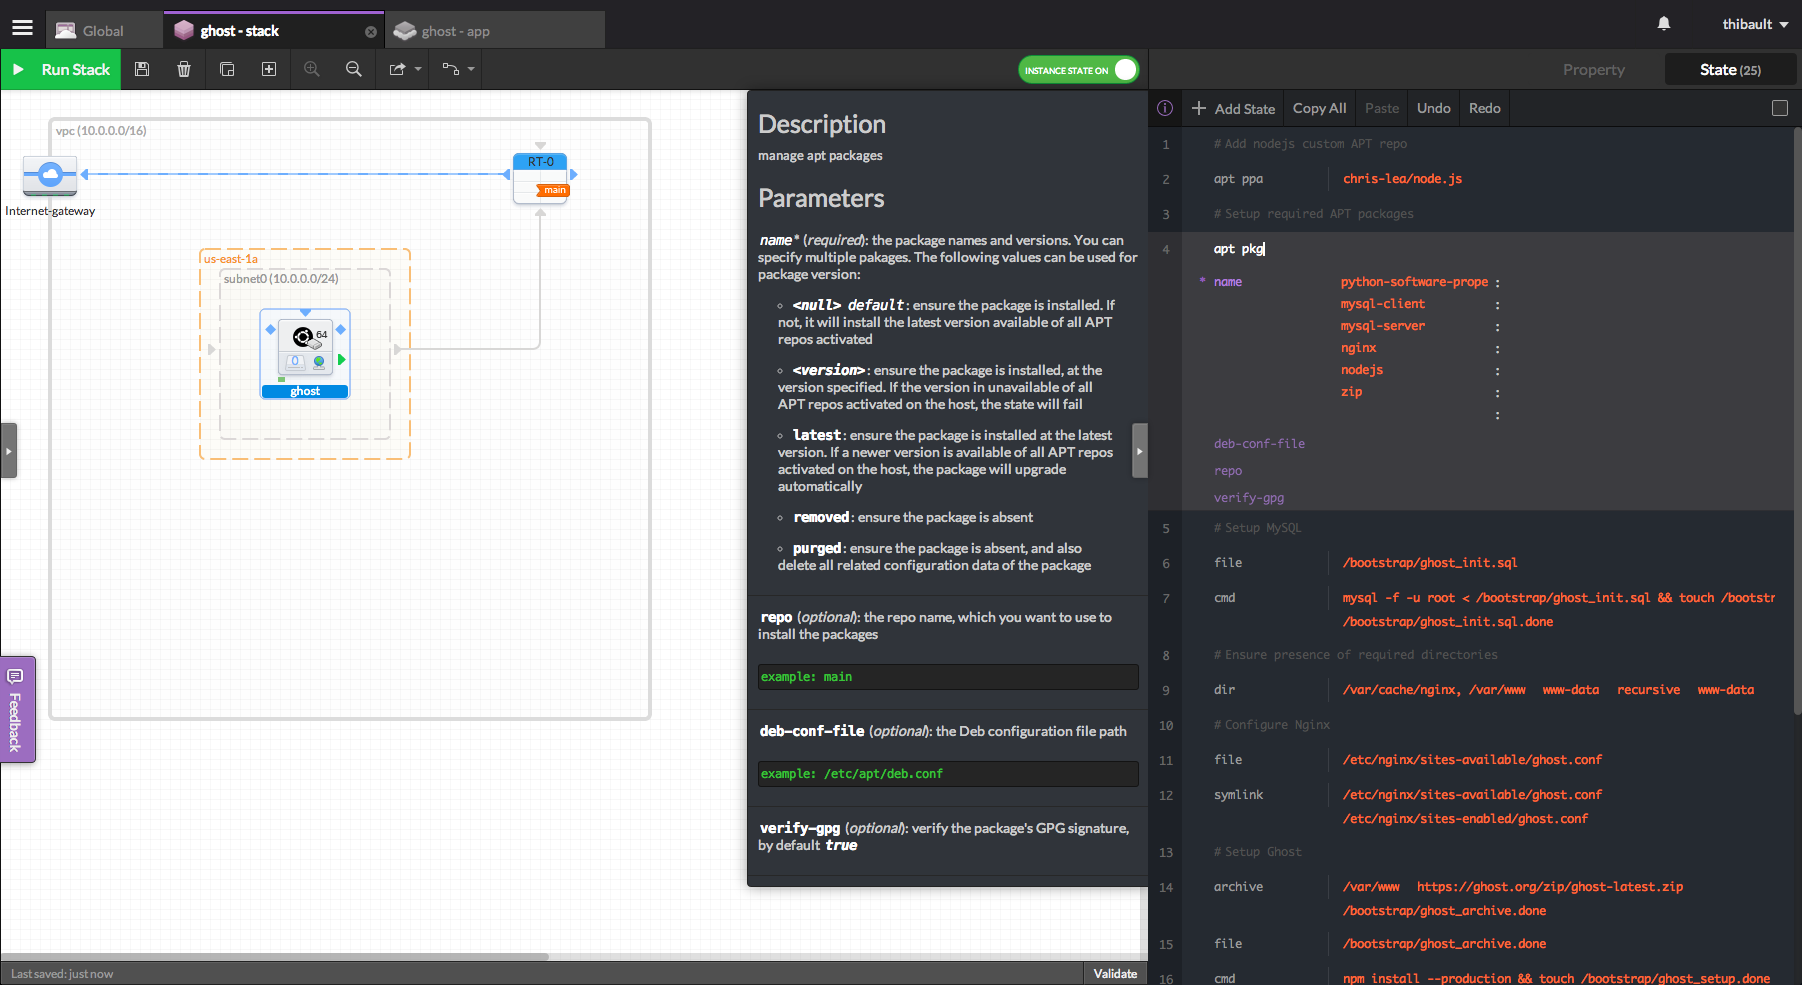
we want to ensure
chris-lea/node.jsppa is present and enabled on this instance.apt ppa ->
name:chris-lea/node.jswe want to ensure the following packages are installed on this instance.
apt pkg ->
name:
python-software-properties
mysql-client
mysql-server
nginx
nodejs
zipwe want to initialize mysql for ghost, however we want this to run only once:
file ->
path:/bootstrap/ghost_init.sql
content:create database ghosttest; create database ghostdev; create database ghost; create user 'ghost'@'localhost' identified by 'your-password'; grant all privileges on ghost.* to 'ghost'@'localhost'; grant all privileges on ghostdev.* to 'ghost'@'localhost'; grant all privileges on ghosttest.* to 'ghost'@'localhost'; SET PASSWORD FOR 'root'@'localhost' = PASSWORD('your-root-password'); SET PASSWORD FOR 'root'@'127.0.0.1' = PASSWORD('your-root-password'); SET PASSWORD FOR 'root'@'%' = PASSWORD('your-root-password'); flush privileges; quitcmd ->
cmd:mysql -f -u root < /bootstrap/ghost_init.sql && touch /bootstrap/ghost_init.sql.done
if-path-absent:/bootstrap/ghost_init.sql.donewe want to ensure the required directories are present:
dir ->
path:
/var/cache/nginx
/var/www
group:www-data
user:www-data
recursive:trueSet ghost configuration file for nginx and activate it (you can replace
@{self.PublicIp}by your domain name):file ->
path:/etc/nginx/sites-available/ghost.conf
content:server { listen 80; server_name @{self.PublicIp}; location / { proxy_set_header X-Real-IP $remote_addr; proxy_set_header Host $http_host; proxy_pass http://127.0.0.1:2368; } }symlink ->
source:/etc/nginx/sites-available/ghost.conf
target:/etc/nginx/sites-enabled/ghost.confWe want to ensure ghost is downloaded and extracteed to
/var/www/.archive ->
path:/var/www
source:https://ghost.org/zip/ghost-latest.zip
if-path-absent:/bootstrap/ghost_archive.donefile ->
path:/bootstrap/ghost_archive.doneInstall Ghost
cmd ->
cmd:npm install --production && touch /bootstrap/ghost_setup.done
cwd:/var/www
if-path-absent:/bootstrap/ghost_setup.doneLet's configure Ghost to use our previously setup Mysql database. (Note that you can replace
@{self.PublicIp}by your domain name)file ->
path:/var/www/config.js
content:// # Ghost Configuration // Setup your Ghost install for various environments // Documentation can be found at http://support.ghost.org/config/ var path = require('path'), config; config = { // ### Development **(default)** development: { // The url to use when providing links to the site, E.g. in RSS and email. url: 'http://@{self.PublicIp}', // Example mail config // Visit http://support.ghost.org/mail for instructions // ``` // mail: { // transport: 'SMTP', // options: { // service: 'Mailgun', // auth: { // user: '', // mailgun username // pass: '' // mailgun password // } // } // }, // ``` database: { client: 'mysql', connection: { host: '127.0.0.1', user: 'ghost', password: 'your-password', database: 'ghostdev', charset: 'utf8' }, debug: false }, server: { // Host to be passed to node's `net.Server#listen()` host: '127.0.0.1', // Port to be passed to node's `net.Server#listen()`, for iisnode set this to `process.env.PORT` port: '2368' }, paths: { contentPath: path.join(__dirname, '/content/') } }, // ### Production // When running Ghost in the wild, use the production environment // Configure your URL and mail settings here production: { url: 'http://@{self.PublicIp}', mail: {}, database: { client: 'mysql', connection: { host: '127.0.0.1', user: 'ghost', password: 'your-password', database: 'ghost', charset: 'utf8' }, debug: false }, server: { // Host to be passed to node's `net.Server#listen()` host: '127.0.0.1', // Port to be passed to node's `net.Server#listen()`, for iisnode set this to `process.env.PORT` port: '2368' } }, // **Developers only need to edit below here** // ### Testing // Used when developing Ghost to run tests and check the health of Ghost // Uses a different port number testing: { url: 'http://127.0.0.1:2369', database: { client: 'sqlite3', connection: { filename: path.join(__dirname, '/content/data/ghost-test.db') } }, server: { host: '127.0.0.1', port: '2369' }, logging: false }, // ### Testing MySQL // Used by Travis - Automated testing run through GitHub 'testing-mysql': { url: 'http://127.0.0.1:2369', database: { client: 'mysql', connection: { host: '127.0.0.1', user: 'ghost', password: 'your-password', database: 'ghost', charset: 'utf8' } }, server: { host: '127.0.0.1', port: '2369' }, logging: false }, // ### Testing pg // Used by Travis - Automated testing run through GitHub 'testing-pg': { url: 'http://127.0.0.1:2369', database: { client: 'pg', connection: { host : '127.0.0.1', user : 'postgres', password : '', database : 'ghost_testing', charset : 'utf8' } }, server: { host: '127.0.0.1', port: '2369' }, logging: false } }; // Export config module.exports = config;
We setup mysql and forever using npm
npm ->
name:
mysql
foreverWe will be using Forever to keep Ghost alive in background.
file ->
path:/var/www/starter.sh
mode:0755
content:if [ $(ps aux | grep node | grep -v grep | wc -l | tr -s "\n") -eq 0 ] then export PATH=/usr/local/bin:$PATH export NODE_ENV=production NODE_ENV=production forever start --sourceDir /var/www index.js >> /var/log/nodelog.txt 2>&1 fiWe want to ensure the owner of www is always the right one.
dir ->
path:/var/www
group:www-data
user:www-data
recursive:trueRun nginx on startup, and ensure tu restart the service if the configuration files has been edited.
service ->
name:nginx
watch:
/etc/nginx.conf
/etc/nginx/sites-available/ghost.confExecute start script
cmd ->
cmd:bash starter.sh && touch /dev/shm/ghost_starter.done
cwd:/var/www
if-path-absent:/dev/shm/ghost_starter.done
