Design the infrasturcture
- First log in to the IDE
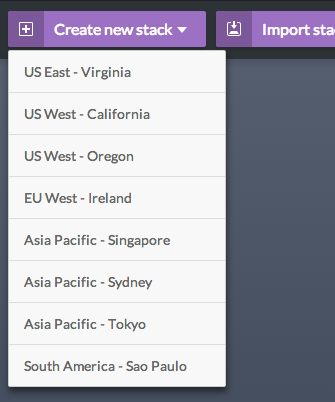
- Create a new Stack by clicking 'Create new Stack' on the top left of the IDE dashboard
- Choose the AWS region where you would like to create your Stack
- From the resource panel on the left, select an Availability Zone and drag'n'drop it to the canvas (Note: Availability Zones depend upon the region selected)
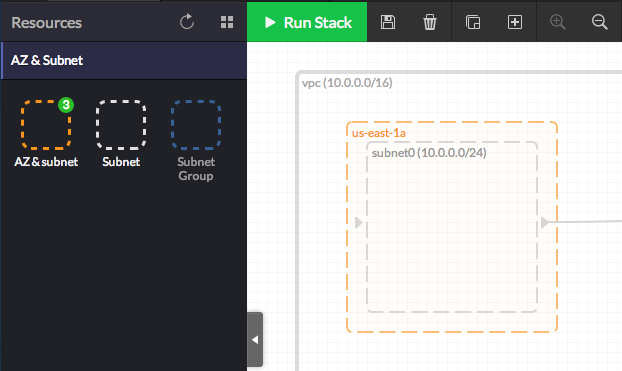 Note: A subnet will automatically be created. If not, you can simply drag one from the resoruce panel and drop it inside the Availability Zone.
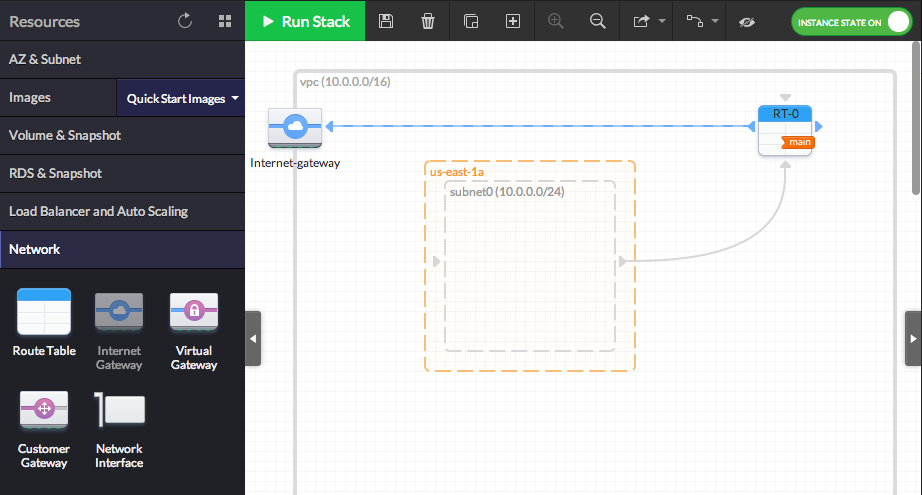
 - Add an 'Internet Gateway' to your stack by dragging it from the 'Network' category under the resources panel towards the edge of the VPC. Once done, you may connect the Internet Gateway to the default Route Table.
The Internet Gateway will allow you to connect your VPC to the Internet.
- Following the same principle, drag'n'drop an instance (from the 'Images' menu) inside the previously created Subnet, within the Availability Zone, (Note: We will use a 64bits Ubuntu 14.04 AMI in this example)
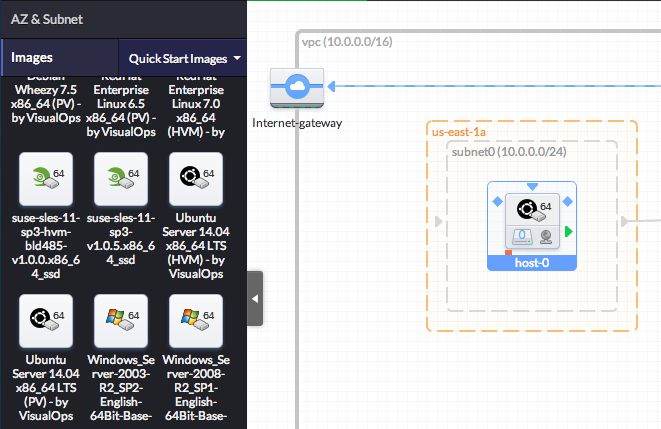
- Click on each AMI icon and set the hostname to 'ghost' in the right panel
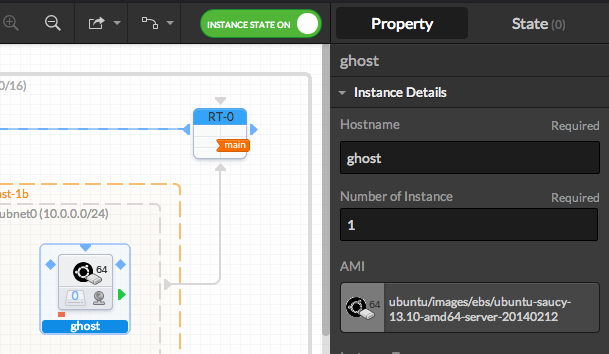
- Associate an EIP to the instance. Pay attention to keep them associated until the execution of the Stack (the icon should be colored)
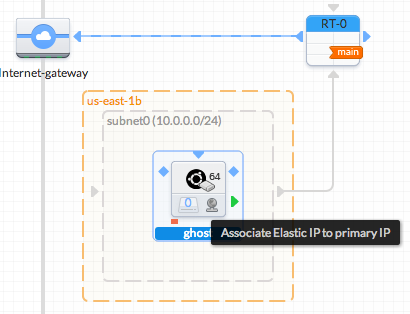
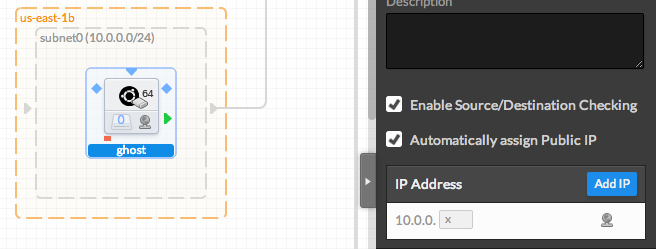
- Alternatively, you may want to associate a public address only
To add a Public IP, on the right Property Panel, tick "Automatically assign Public IP" in the 'Network Interface Details' menu
- Define a Security Group, for your instance
Click on your instance and then 'Create new Security Group' in the'Security Groups' menu in the right panel
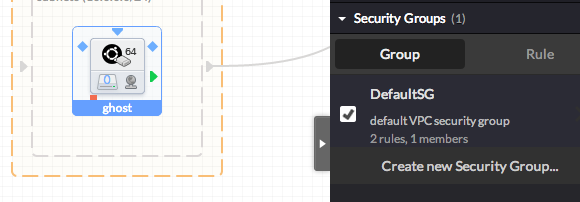
Name this Security Group 'front'
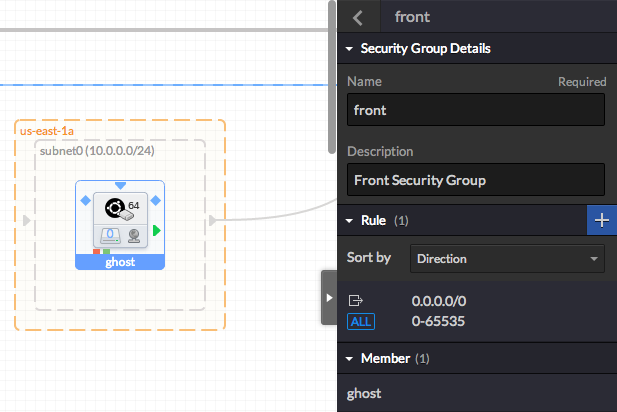
Go back and assign the ghost instance to 'front', then remove it from the default Security Group
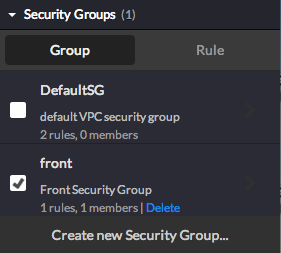
- Create the Security Rules
Click on the ghost instance, then in the 'Security Groups' menu in the right panel, click on the right arrow on the right of the 'front' SG to access its properties
In this menu, click on the purple + button to add a new rule
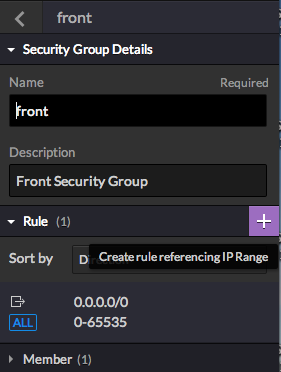
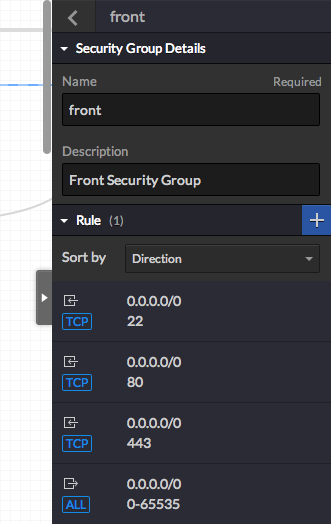
Start by adding a first rule allowing SSH incoming connections to your instance (allow connections from the web instance on port 22, following TCP protocol, inbound) for remote management (note: the source(s) IP(s)/range must follow the CIDR notation)
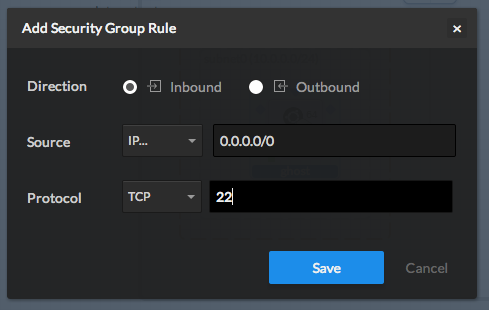
Following the same method, allow incomming connections on port 80 and 443 (web server), and an outgoing rule on all ports/protocols
Note that although it is fine to keep it for this exmple, it may be a good idea to make some further restricitve rules on a production stack. Additionally, please note the the outgoing rule is automatically created when you associate an EIP
You should at least have the following rules
Manage your SSH keys
It is now possible to chosse which SSH key to use for your application. You have several options:- Create a new key-pair (useful if you want to use a unique key for this instance, or app for example)
- Use an existing key-pair from your AWS account
- Import a key-pair from your computer
- Use no key-pair (useful in case of customs AMIs with specific password, that you already know)
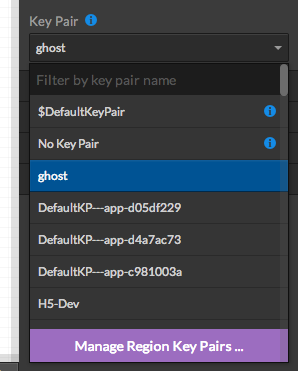
Key pairs can be specified by instance, or by app, selecting '$DefaultKeyPair' (default) in the properties panel of any instance
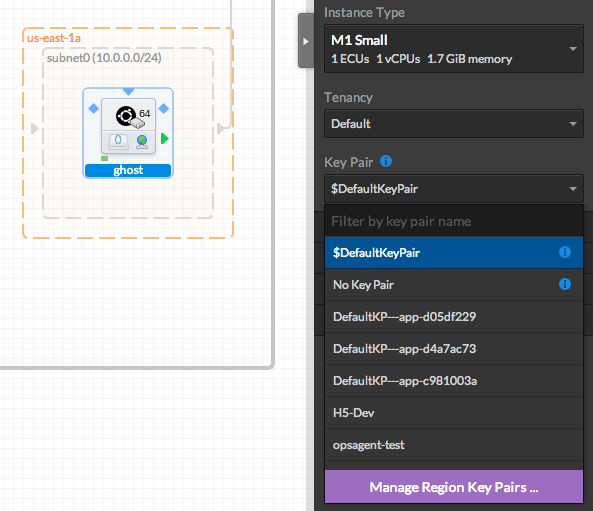
To manage your key-pair, click on 'Manage Region Key Pairs' in the properties panel of any instance
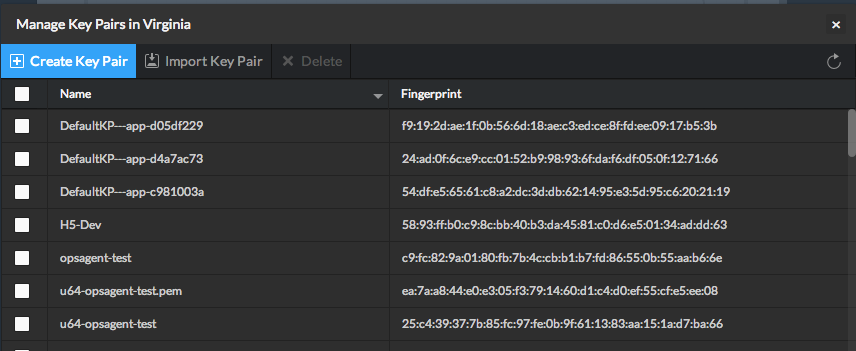
We will create a new key-pair for this example

Once done, download your key and store it to a secure location (we don't store key-pairs be sure to store it in a safe place)
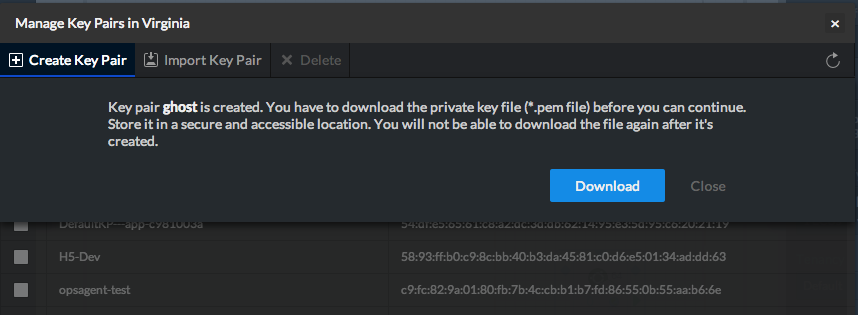
You can now choose the key in the property panel list (note that if you selected '$DefaultKeyPair', you will have to select your key-pair before launching the app)
- Click on the blank area of the canvas to focus on the Stack properties. Name the Stack as 'ghost' in the right panel, then click on the save icon on the left side of the top bar
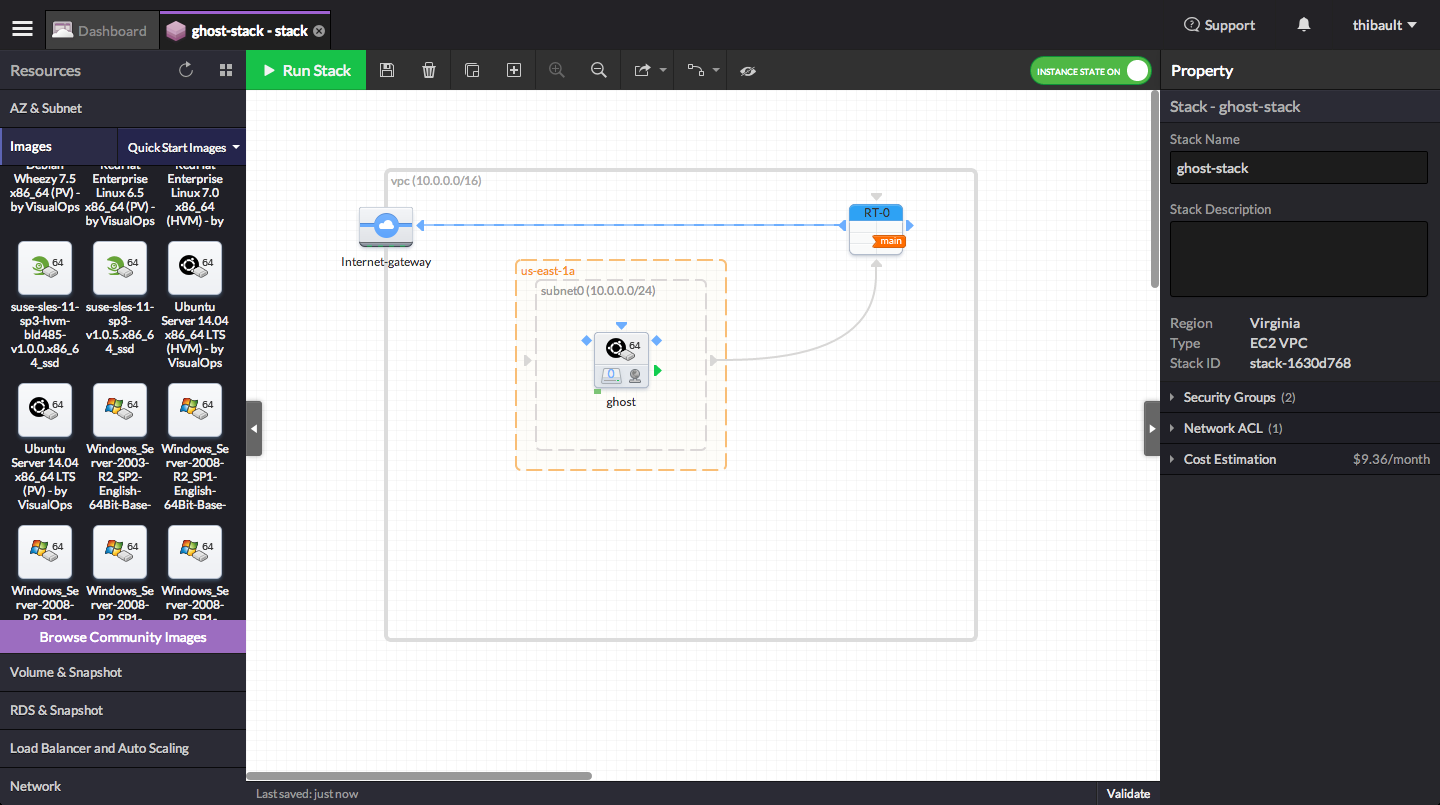
Congratulations! Your Stack structure is now set and potentially ready to be launched!